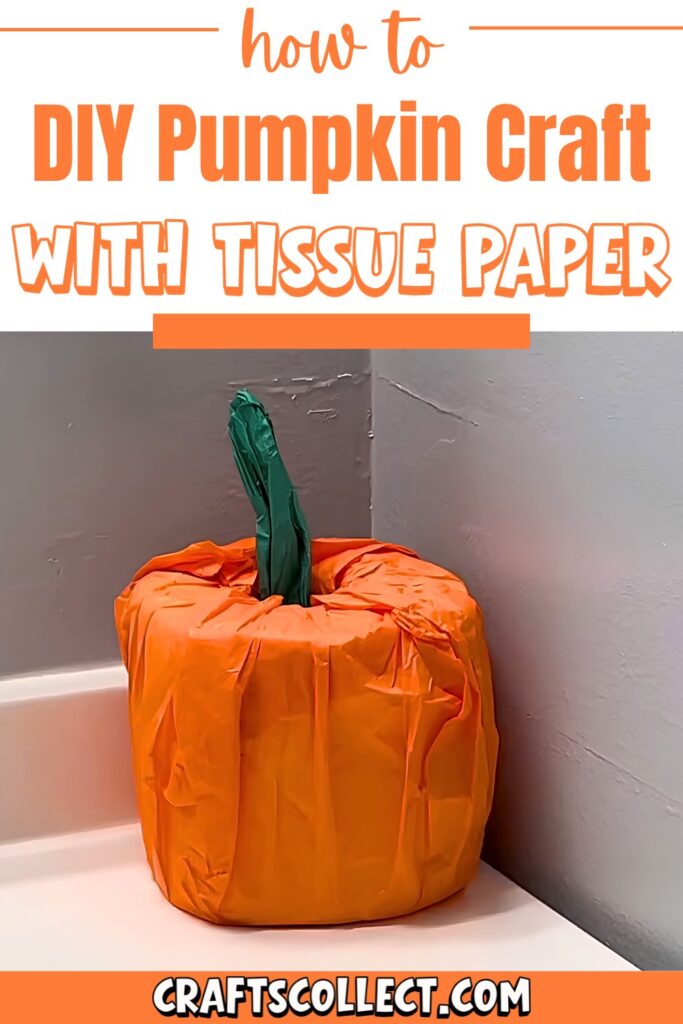
Let’s make a fun and simple pumpkin decoration for Halloween! This craft is quick, kid-friendly, and uses items you already have at home. Perfect for adding a festive touch to any space, these pumpkins can sit on shelves, tables, or any spot needing a bit of Halloween cheer.
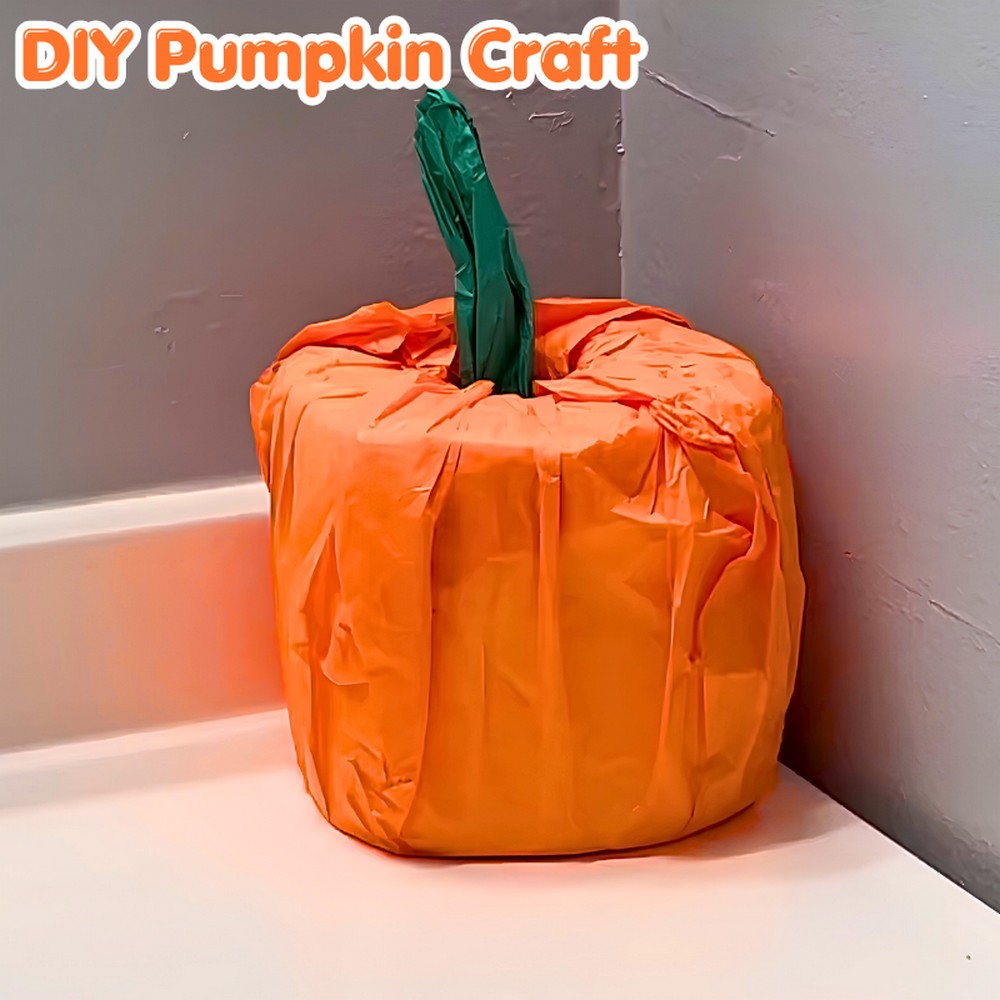
Pumpkin Halloween Craft
All you need is a toilet paper roll and some tissue paper to create these adorable pumpkins. By tucking the tissue paper around the roll, you shape it into a plump pumpkin. Add a little square of green tissue on top for a leafy look or make it resemble a stem. Super easy, right?
Credit Parenting Littles + Bigs
You can jazz it up by adding jack-o’-lantern faces using a black marker or construction paper. Or keep it plain and simple for a classic fall vibe. These pumpkins are versatile, so you can also use them for other holidays by switching up the colors.
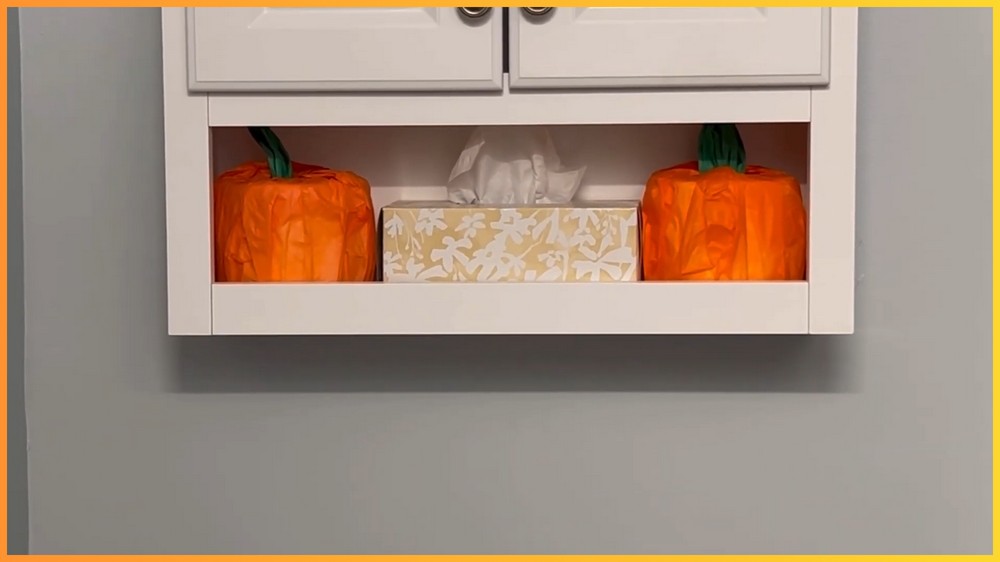
Place these pumpkins in your bathroom, on shelves, or even as table décor. They’re lightweight, mess-free, and great for kids to help make. Whether for Halloween or another season, this craft is a fun way to decorate your home effortlessly.
Required Materials
- Toilet Paper Roll: 1 roll serves as the base for your pumpkin. The hollow center is key to this design.
- Orange Tissue Paper: 1 full sheet (to wrap the roll and create the pumpkin’s characteristic color).
- Green, Brown, or Black Tissue Paper: 1/4 of a sheet to craft the stem or leaves.
- Optional Materials: Black permanent marker or black construction paper for decorating the pumpkin’s face or adding detail.
Important Notes
- This project is intentionally simple, making it easy for kids or beginners to enjoy. It requires minimal tools and workplace preparation.
- Aligning the tissue paper evenly is important for aesthetics, but minor imperfections can easily be adjusted during the process.
- The craft is versatile: it can be customized for various themes beyond Halloween. A snowman variation for winter or a festive-colored centerpiece for other holidays can be created with similar techniques.
- The hollow center of the toilet paper roll will act as the base for wrapping the tissue paper and inserting decorative elements.
Crafting the Pumpkin
Step 1: Wrapping the Roll
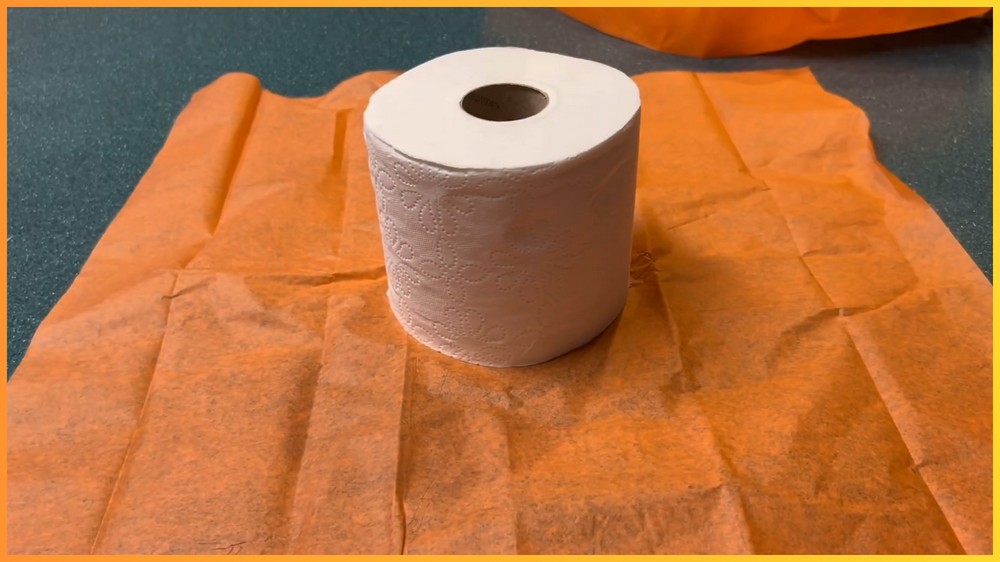
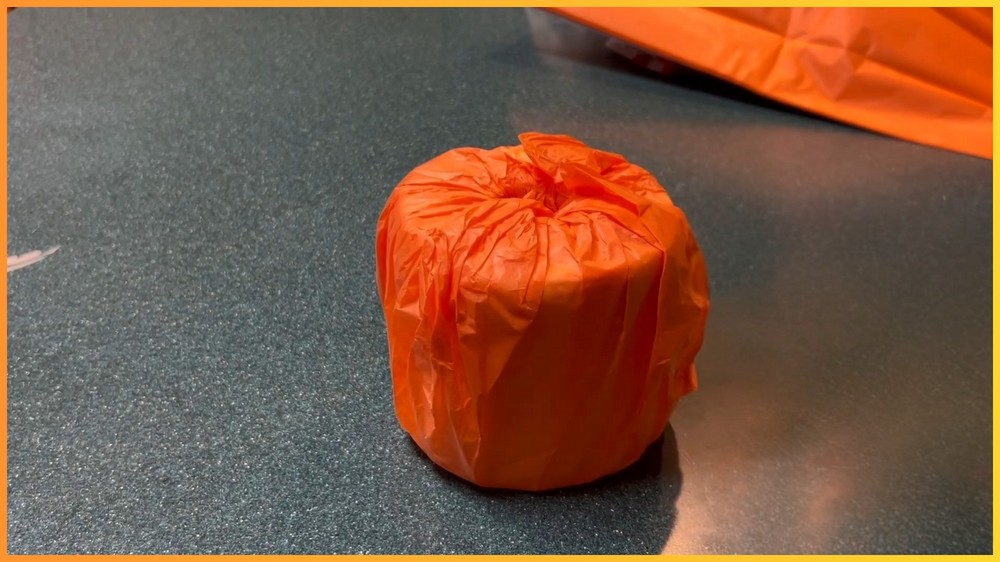
Take your roll of toilet paper and orange tissue paper. Lay the tissue paper flat on a smooth surface and center the roll of toilet paper on top of it. The tissue paper should be large enough to completely cover the roll, leaving extra material to tuck into the hollow center of the roll.
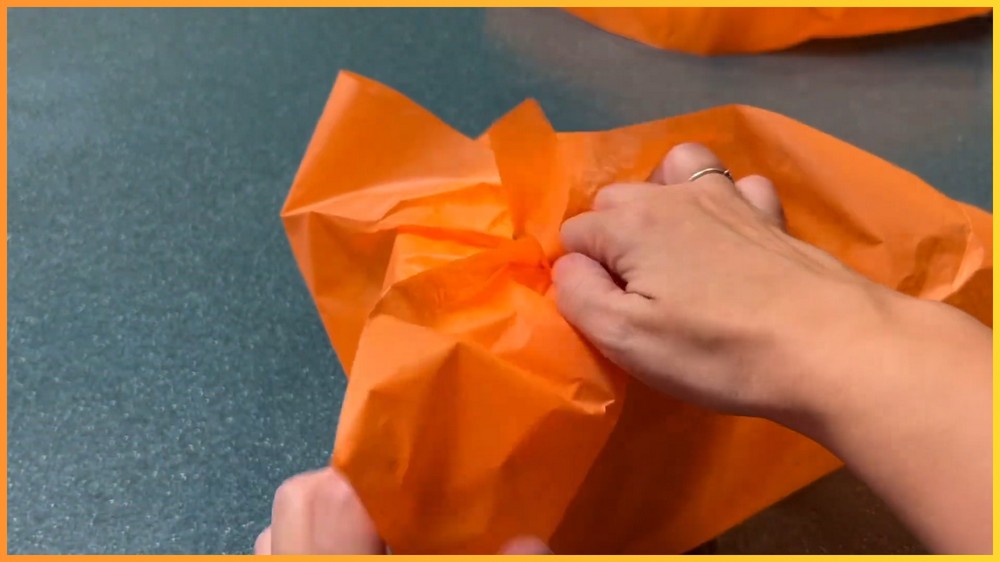
Start by grabbing one corner of the tissue paper and carefully tucking it into the middle of the toilet paper roll. Once the first corner is tucked, repeat this motion with the opposite corner, evenly distributing the material for a symmetrical appearance. Continue the process with the other two corners, using a “tuck-and-go-around” approach to smooth out any wrinkles or uneven edges. If the tissue paper doesn’t look perfectly centered, you can gently pull it out and realign it before continuing. Fluff and adjust the edges as needed, ensuring that the roll is fully covered.
Step 2: Creating the Stem or Leaves
To mimic the pumpkin stem, take a smaller piece of green, brown, or black tissue paper (approximately 1/4 of a sheet). Depending on the look you want to achieve, shape the tissue paper as follows:
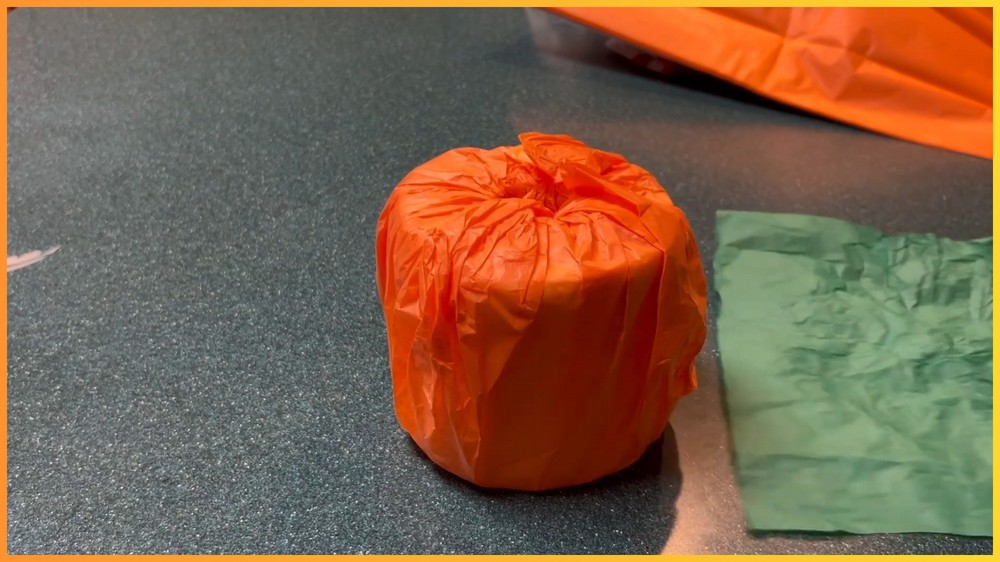
- Leafy Look: Grab the tissue paper in the center and gently scrunch the edges to form loose “leaves.” This will create an organic, natural appearance.
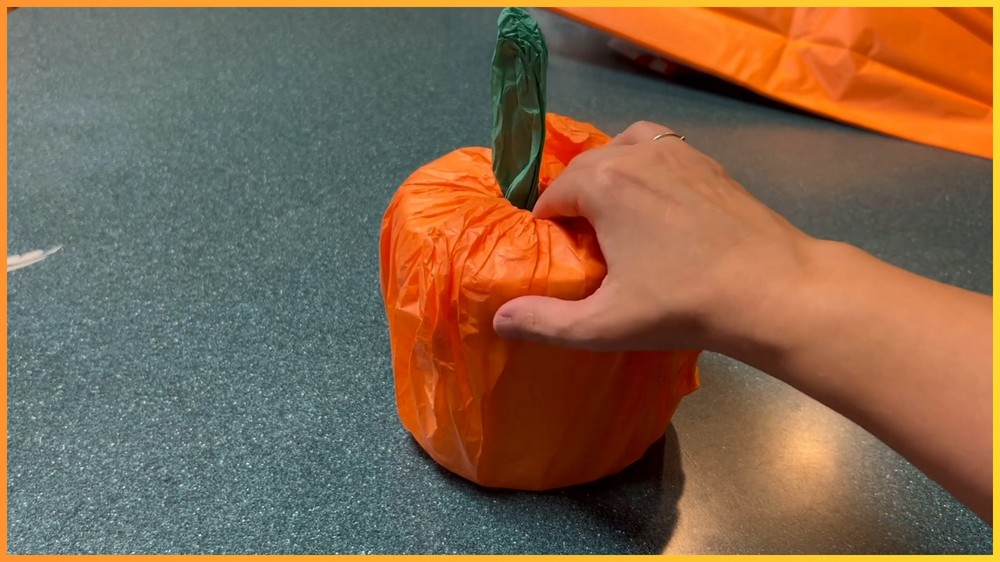
- Stem Appearance: Roll the tissue paper tightly into a neat cylindrical shape. This gives the look of a traditional stem sticking out of the top of your pumpkin.
Once shaped, insert the tissue paper into the hollow center of the toilet paper roll. Adjust the loose ends or fluff them outward if you’re going for the leafy effect, or tuck them further into the roll for a stem-like look.
Note: If you face any hurdles in creating this project, then you can watch the tutorial here.
Step 3: Adding a Face (Optional)
Customize your pumpkin by giving it a jack-o’-lantern face. If you’d like to add personality to your craft, you have two options:
Using a Permanent Marker:
Draw your desired face onto the orange tissue paper. This can include traditional shapes like triangle eyes, a crooked smile, or spooky features. Be creative—you can make it cute, scary, or unique!
Using Construction Paper:
Cut shapes for the face (such as eyes, nose, and mouth) out of black construction paper. Glue or tape these pieces directly onto the tissue paper-covered toilet roll. This method allows for extra detail, and you can experiment with different designs.
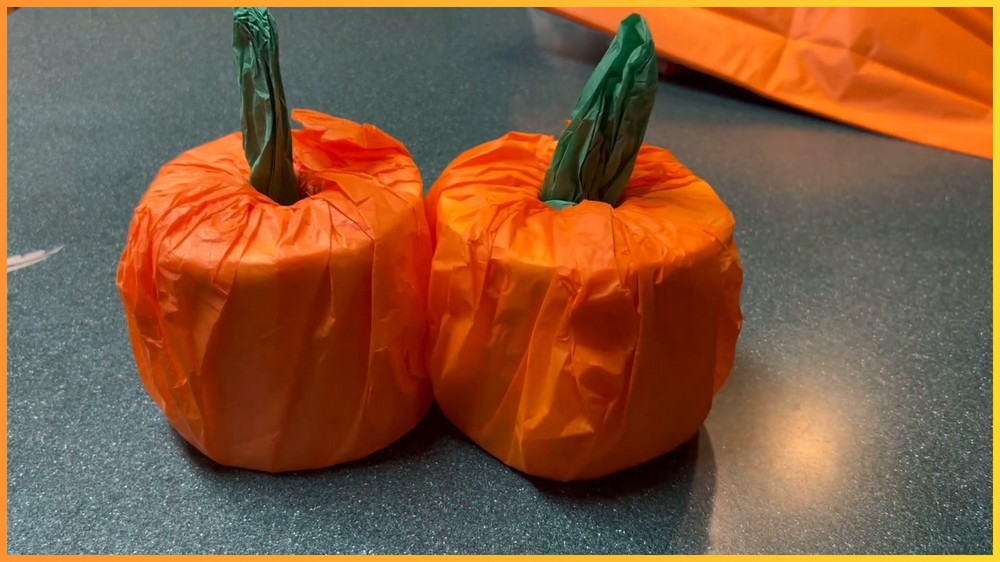
Final Touches
Once your pumpkin is complete, take a moment to fluff and adjust any tissue paper edges to ensure a polished look. Place your finished craft in a location that will showcase its festive charm, such as a shelf, table centerpiece, or bathroom counter.
Feeling inspired? You can experiment with new color combinations and themes for different seasons or holidays:
- For Winter/Snowman: Replace the orange tissue paper with white, and use red or green paper for accessories like a scarf or hat.
- For Thanksgiving: Use earthy tones like browns and yellows for a seasonal harvest look.