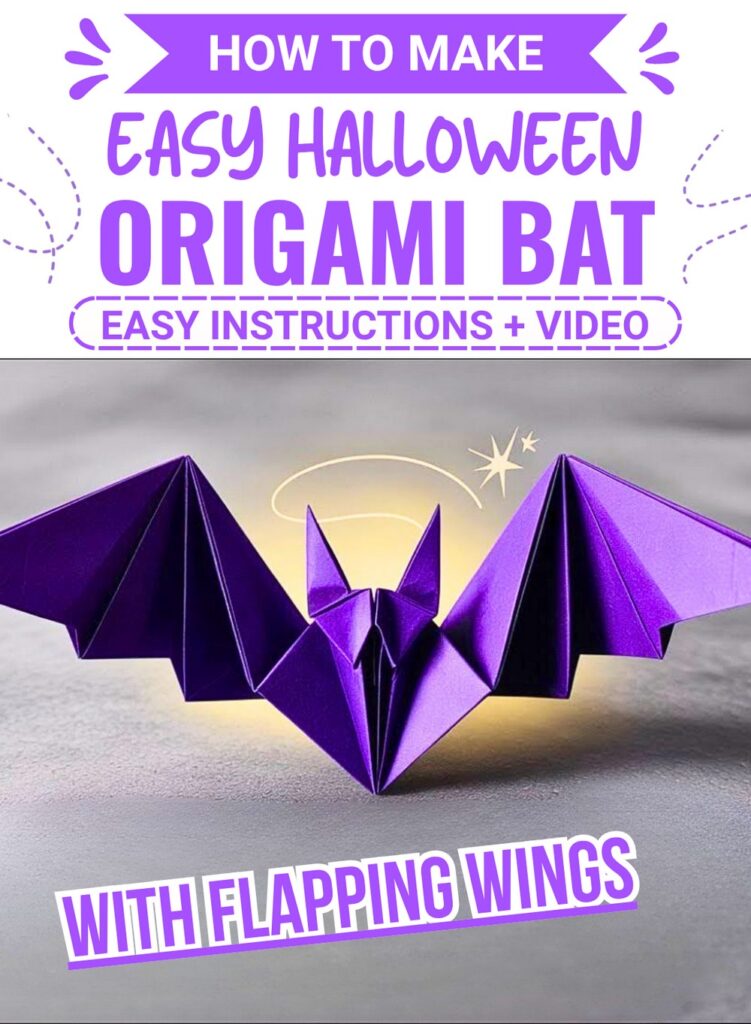
A paper bat is a fun Halloween project that adds spirit to any room. Made with simple paper folds, this cute creation works as a hanging wall ornament, festive party decor, or a friendly desk companion. It brings a playful touch to your space while giving kids a hands-on activity to enjoy together.
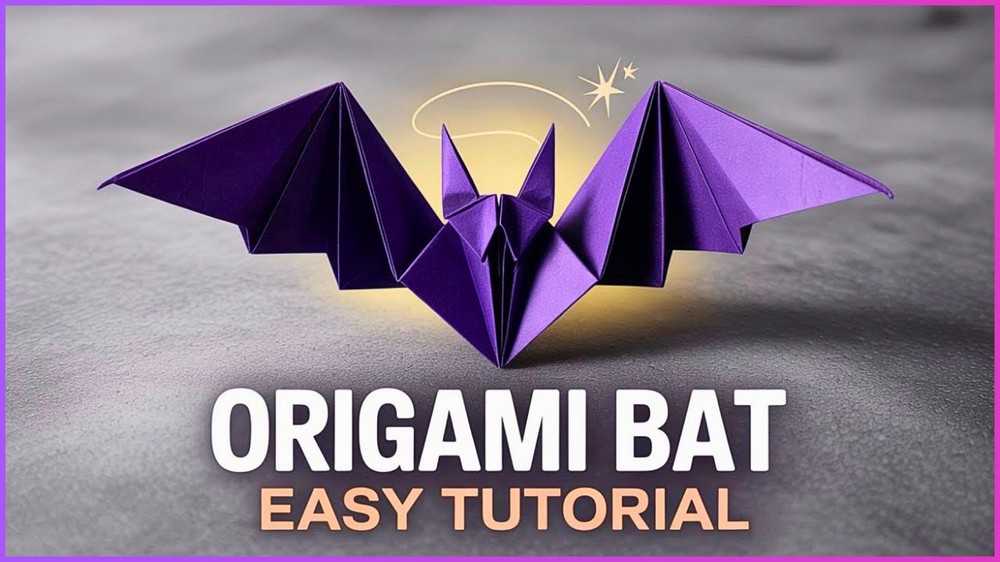
Origami Bat Craft
This festive craft stands out because it features moving wings that flap gently when held. You only need a square sheet of colorful paper to begin shaping it. The folding steps are neat and easy to follow, allowing creators of all ages to turn a basic piece of paper into a neat three-dimensional figure.
You can use your finished paper bats in many creative ways around your home. Hang them from the ceiling with string, paste them onto cards, or use them as party favors. Kids love playing with their flapping wings during Halloween games, making this craft both a fun toy and a lovely festive accent.
Finishing your project takes just a few quick folds and a touch of personal detail like drawing little eyes. It offers a wonderful way to practice hand skills while making something special. Gather your colorful paper sheets today and enjoy crafting your very own playful bats for the Halloween season!
Things that you need before crafting:
Square Origami Paper: 1 sheet of square paper ($21 \text{ cm} \times 21 \text{ cm}$, ideally black or dark purple).
Bone Folder or Ruler (Optional): Helpful for pressing crisp, clean creases along thick layers.
Fine Marker/Gel Pen (Optional): White or silver pen to draw cute eyes and fangs as finishing details.
Notes
Level: Beginner to Intermediate.
Special Technique: Accordion (pleat) folding and symmetrical reverse folds.
Tip: Crisp creases are essential for the flapping action to work effectively!
Gauge
- Final Size: Approximately $18 \text{ cm}$ wingspan when using a $21 \text{ cm} \times 21 \text{ cm}$ square sheet.
This Project credit goes to Paper Art | Origami.
Key Construction Features
Single-Sheet Build: Requires no glue or cutting; formed entirely through traditional folding techniques.
Interactive Flapping Mechanism: Built-in central tension allows the wings to flex and flap when the body is pinched.
Textured Accordion Wings: Sequential pleating creates realism and structural strength in the wing panels.
Integrated Facial Details: Clever reverse folds form pointy ears and a defined head structure directly out of the top edge.
How To Make:
Phase 1: Base Creases & Spine Assembly
Begin with a standard 21 cm × 21 cm square sheet of paper laid flat on a smooth surface. Fold the paper diagonally in half twice, corner to corner, creasing each fold firmly before opening it back out into a large single-layer triangle with the long folded base edge at the top and the center reference crease clearly visible down the middle. Take the top apex of the triangle and bring it downward past the bottom edge by about two centimeters, pressing the new top edge flat.
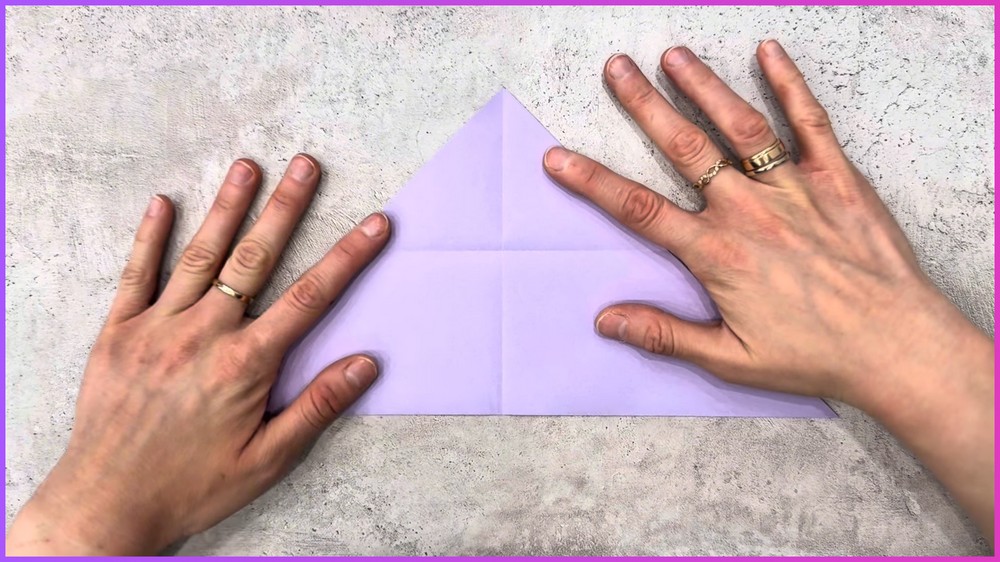
Roll this horizontal top edge downward twice in neat, narrow strips of about one and a half centimeters each. This creates a dense, multi-layered horizontal band across the top of the model that serves as the rigid spine connecting the wings and holding the central body together.
Phase 2: Shaping the Head & Ears
Flip the paper over so the flat side faces up and the heavy rolled band rests at the top edge. To form the head and ears, fold the left and right upper edges of the central band diagonally inward toward the middle vertical line at a forty-five-degree angle.
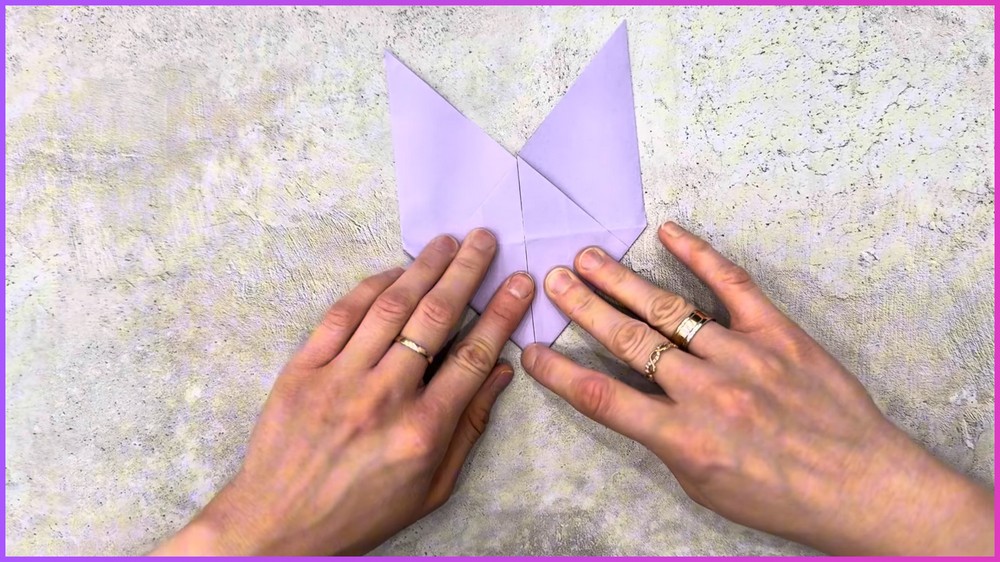
Gently pry these folds open and press them flat using squash folds, transforming the paper flaps into two distinct, upward-pointing triangular ears with a contoured head section resting between them.
Phase 3: Accordion Pleating the Wings
Next, move to the broad paper panels on either side to construct the pleated bat wings. Starting on the left side, execute alternating valley and mountain folds spaced roughly one and a half centimeters apart, working across the entire width of the wing panel to create an accordion pleat.
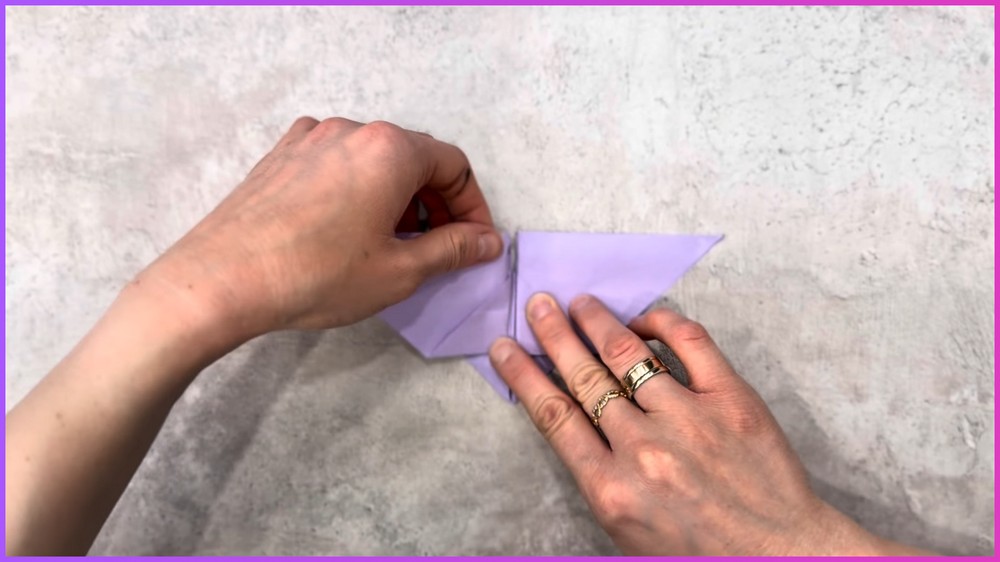
Mirror this exact accordion pleating process on the right wing panel to ensure symmetrical movement and texture. Once both wings are fully pleated, gently draw the pleats apart so the wings fan out, and curve the outer edges slightly forward to give the bat a hollow, rounded three-dimensional silhouette.
Note: If you face any hurdles in creating this project, then you can watch the tutorial here.
Phase 4: Flapping Mechanism & Finishing Touches
To activate the interactive movement, fold the bat slightly in half along its vertical center axis so the wings angle upward. Grasp the small triangular body area just below the head firmly between your thumb and forefinger, then use your other hand to gently pull the lower tail section back and forth in a smooth, rhythmic motion, which flexes the central spine and causes the accordion wings to flap.
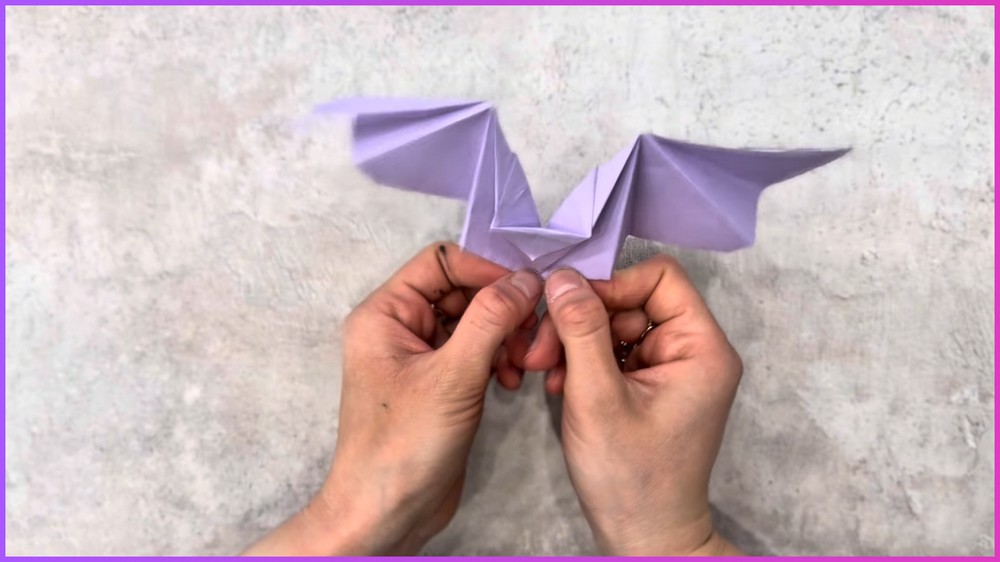
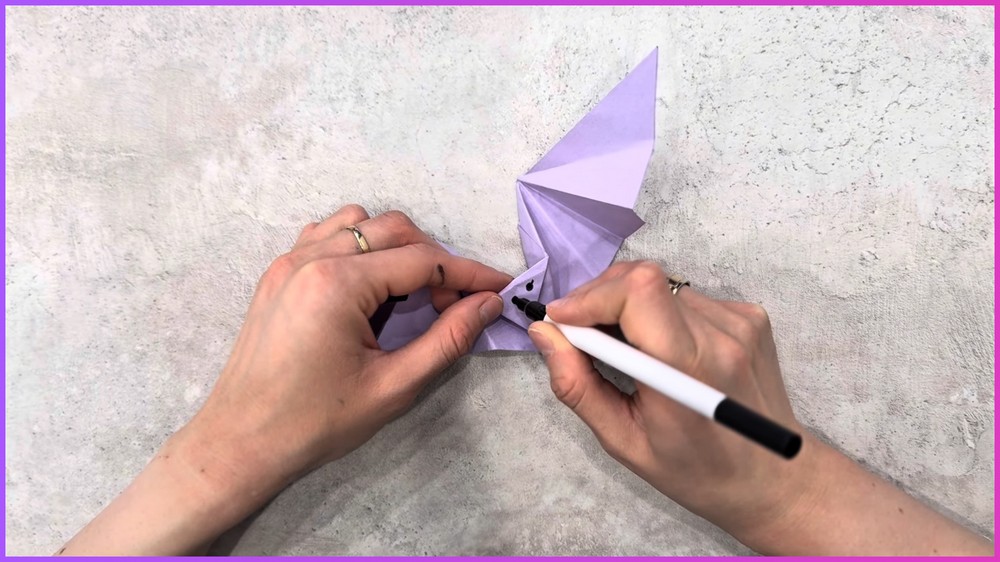
For the final embellishments, use a fine white gel pen or metallic marker to draw glowing eyes, tiny fangs, or delicate accent lines inside the ears and along the wing ribs.
Save this pin for future!