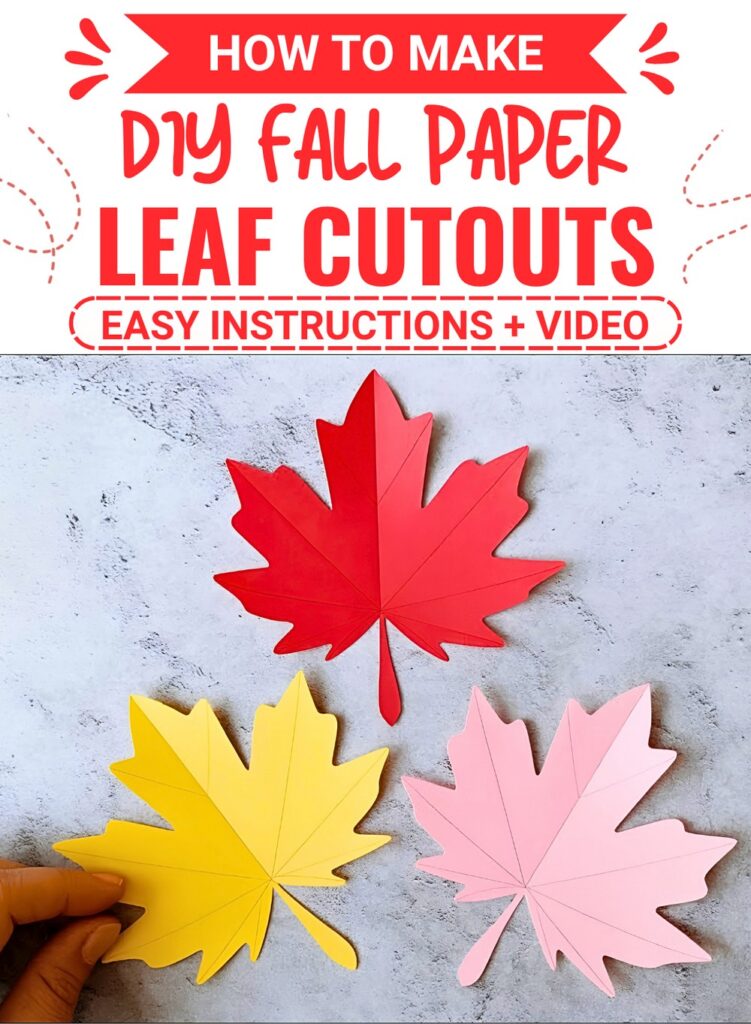
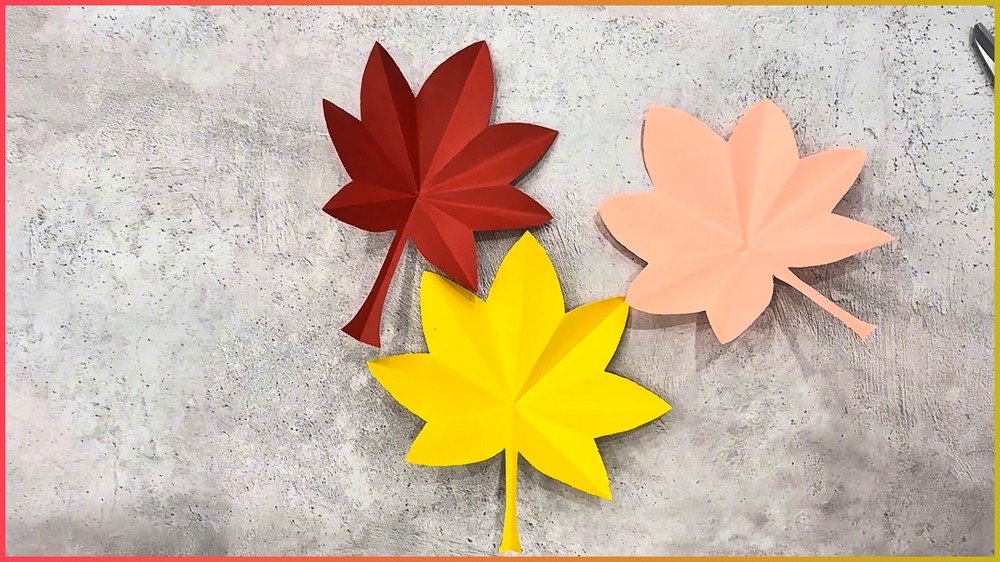
Paper leaf cutouts are delightful handmade autumn crafts that bring bright seasonal colors indoors. By using simple square sheets of colorful paper, children and adults can make realistic maple leaf shapes. These paper leaves are perfect for room decorations, classroom art projects, or festive Halloween setups.
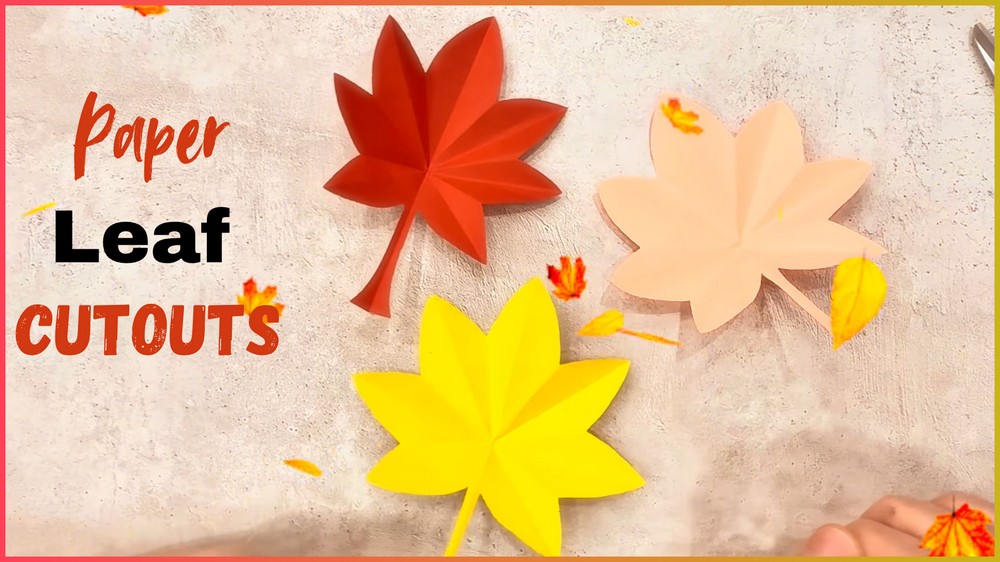
Fall Paper Leaf Cutouts
You can hang these bright cutouts on windows, stick them onto greeting cards, or create a colorful garland across your fireplace mantle. They add a cozy touch to any space during the cool fall season. Kids can also use them to decorate their notebooks, scrapbooks, or school lockers with autumn charm.
Making these autumn leaves is a fun activity for Halloween celebrations. You can choose classic fall shades like warm yellow, deep red, or soft orange. The process involves folding a square paper, sketching a leaf outline with a pencil, and carefully snipping along the lines with a pair of scissors.
Once you unfold the folded paper, a beautiful textured leaf reveals itself. You can gently adjust the folds to give each leaf realistic depth and shape. Crafting a whole bundle of these leaves is quick, entertaining, and satisfying for artists of any age looking to celebrate the changing fall season.
Things that you need before crafting:
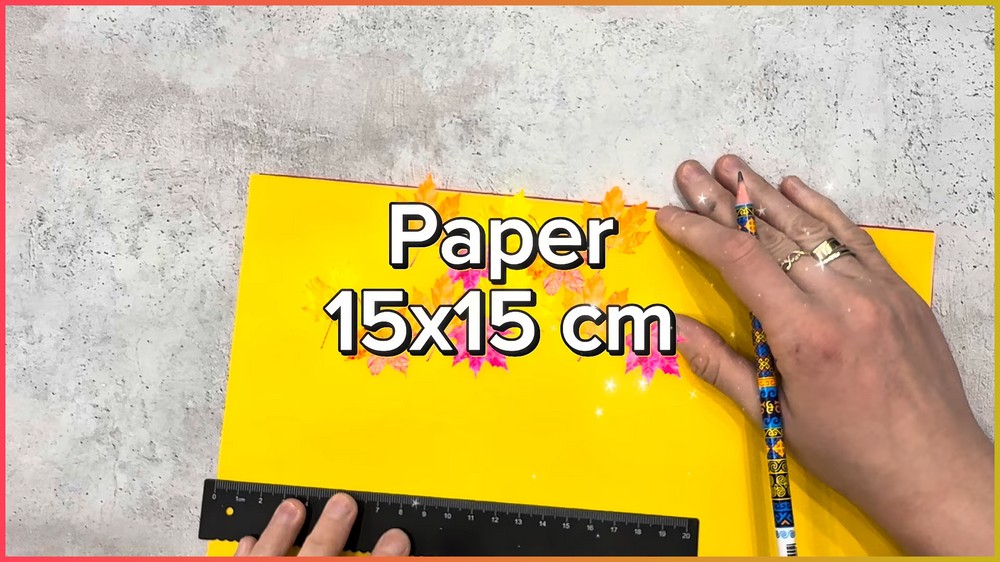
Craft Paper: 1 sheet of colorful square paper (15 cm × 15 cm; autumn shades like orange, red, or yellow work best).
Pencil: Standard graphite pencil for drawing the stem and leaf lobe guidelines.
Ruler: Measuring ruler for sizing the square paper accurately.
Scissors: Sharp craft scissors for smooth, clean edge cuts along curved lines.
Note & Gauge
Note: Ensure all accordion folds are crisp and sharp to give the final leaf clean 3D ridges and realistic leaf veins.
Gauge: Standard 15 cm × 15 cm square paper yields approximately a 12 cm wide finished leaf cutout.
This Project credit goes to Paper Art | Origami.
Key Construction Features
Symmetrical Folding: Built on a layered triangular base formed through precise horizontal, vertical, and diagonal folds.
Integrated Stem & Lobes: Features a single contiguous cut that simultaneously creates the leaf stem and outer jagged lobes.
Accordion Texture: Uses contrasting mountain and valley folds to form dynamic, dimensional leaf ridges.
Customizable Edges: The arched cutout shape can be adjusted to create variations in leaf point sharpness and lobe size.

How To Make:
Preparing the Paper and Setting Primary Creases
Select a crisp sheet of colorful craft paper measuring 15 cm × 15 cm. Lay the paper flat on your workspace and make a precise horizontal fold directly through the center, bringing the bottom edge up to meet the top edge to create a folded rectangle.
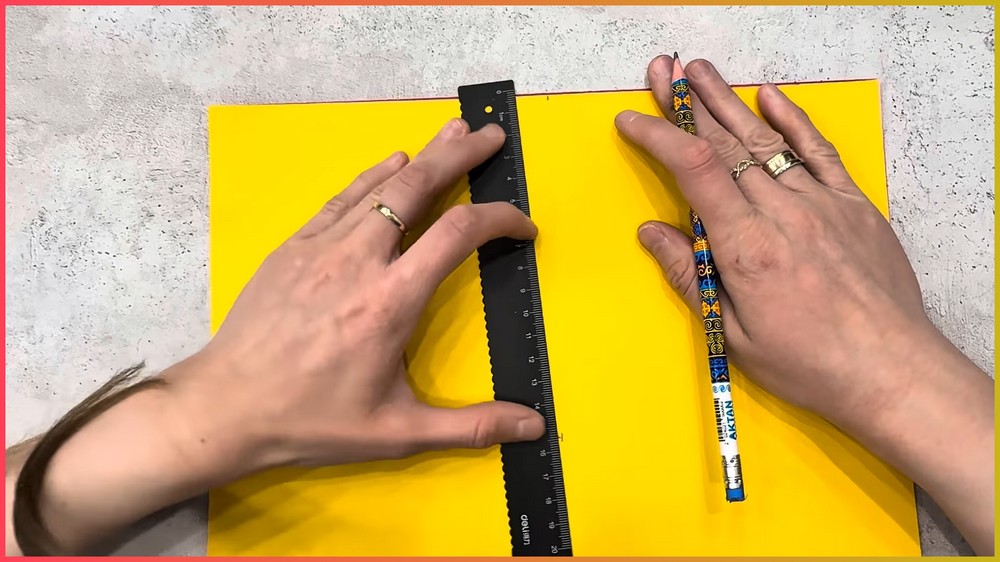
Next, create a vertical center guide crease by folding the rectangle in half from right to left. Press down firmly to lock in the line, then immediately unfold it back to the original rectangular shape. This establishes a clean center line that serves as the anchor point for all subsequent symmetrical folds.
Forming the Diagonal Crease Guidelines
Focus on the bottom folded edge of your rectangle. Take the bottom-right corner and fold it upward diagonally so that the edge aligns perfectly along the center vertical crease line you created previously. Crease the diagonal edge firmly.
Repeat this exact motion on the left side: bring the bottom-left corner upward and inward to meet the center line. Smooth down both folds to ensure symmetry, then completely unfold both diagonal flaps back out, leaving behind a clear crisscross set of guide creases.
Collapsing into the Accordion Triangular Base
To transition the flat sheet into a dimensional base, open the inner pocket of the paper from the bottom. Carefully collapse the side folds inward along the existing diagonal crease lines, tucking the outer paper layers inside themselves.
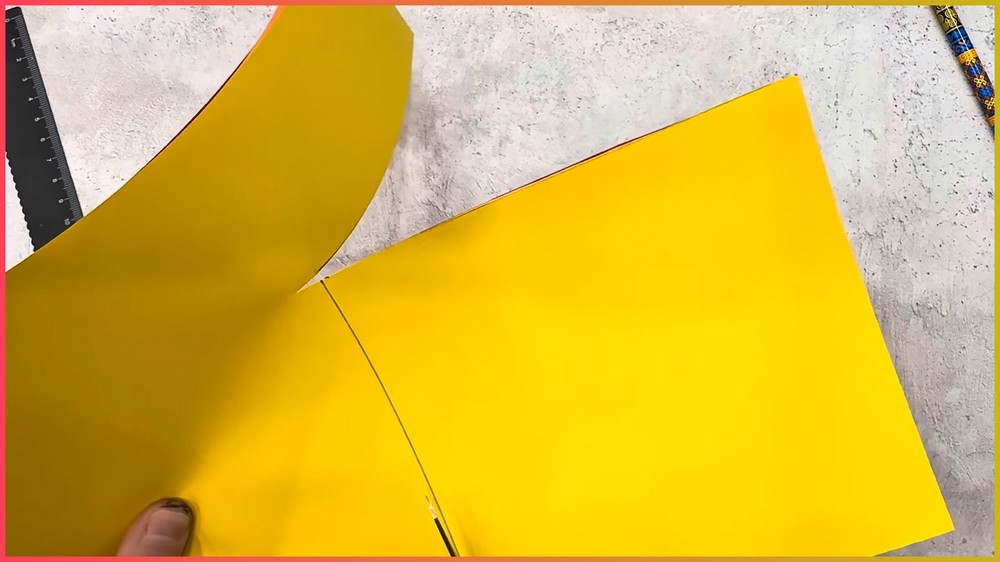
As you push the sides inward, the structure will naturally press together into a sharp, multi-layered triangle. Smooth down every layer firmly with your thumb or ruler to flatten the accordion structure, ensuring all interior folds are tightly compressed and balanced.
Sketching the Stem and Lobe Outlines
Position the flattened triangular paper with its top apex pointing upward and the layered open folds facing downward. Using your pencil, draw a narrow, vertical rectangular tab (approximately 0.5 cm wide and 1.5 cm long) extending down from the center-bottom edge to serve as the leaf stem.
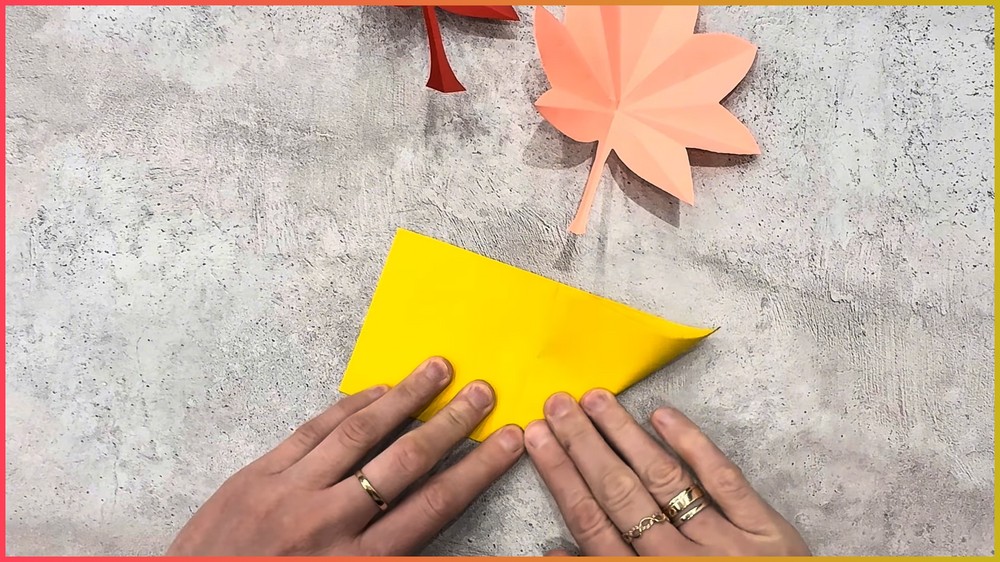
Starting just above the base of this stem, draw a sweeping, upward-curving arch that swoops outward toward the upper right edge of the triangle. This continuous curved guideline defines the outer silhouettes, point distribution, and jagged edge structure of the maple leaf lobes.
Precision Cutting along the Guidelines
Hold the folded paper triangle firmly near the center to prevent the internal layers from shifting or sliding while you work. Using sharp craft scissors, cut directly along the vertical lines of the pencil-drawn stem, making sure to cut through all paper layers evenly.
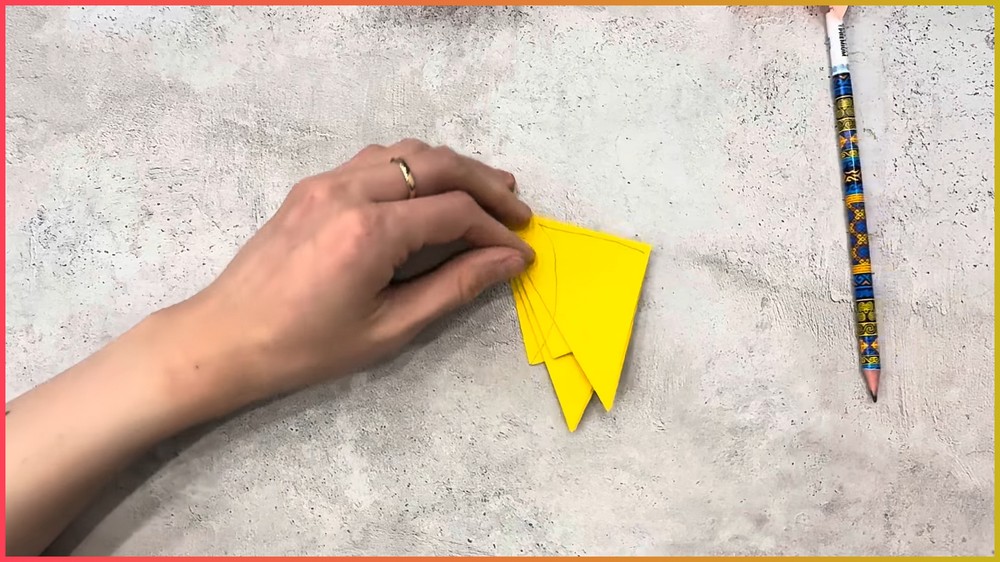
Next, guide your scissors along the curved arch line to slice through the multi-layered edge, trimming away the top excess corner of the triangle. Ensure your cuts are smooth and continuous to avoid frayed or ragged paper edges on the finished points.
Note: If you face any hurdles in creating this project, then you can watch the tutorial here.
Unfolding and Final 3D Sculpting
Gently pull apart the cut paper structure to open up the fully formed leaf shape, revealing the symmetrical, multi-pointed outer silhouette and the integrated bottom stem. To give the leaf its round, dimensional form and realistic vein structure, work around the leaf body by hand to accentuate the folds.
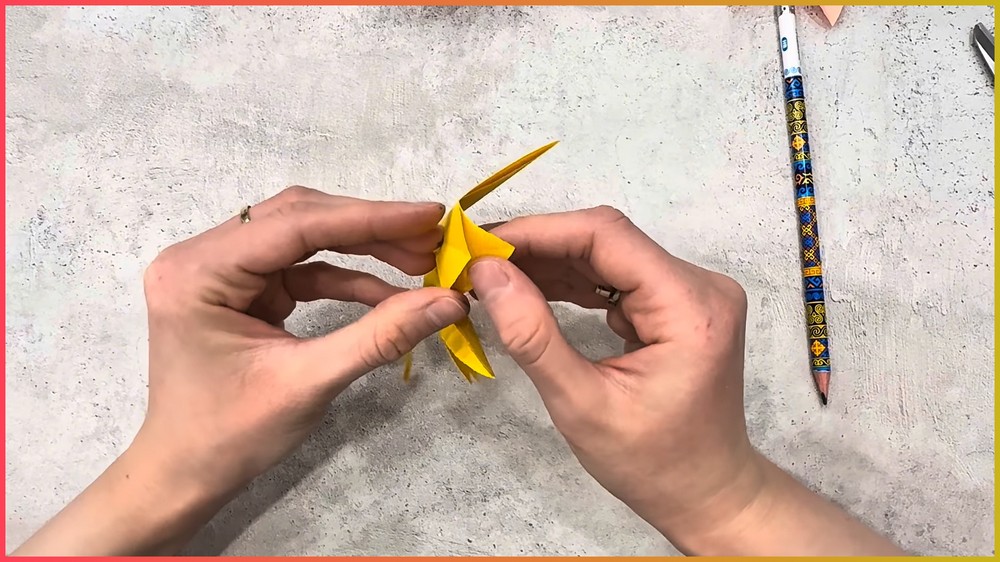
Refold and pinch every alternating seam into distinct mountain (raised) and valley (recessed) creases, spreading the lobes slightly outward to create a dynamic, lifelike 3D autumn leaf texture.
Save this pin for future!