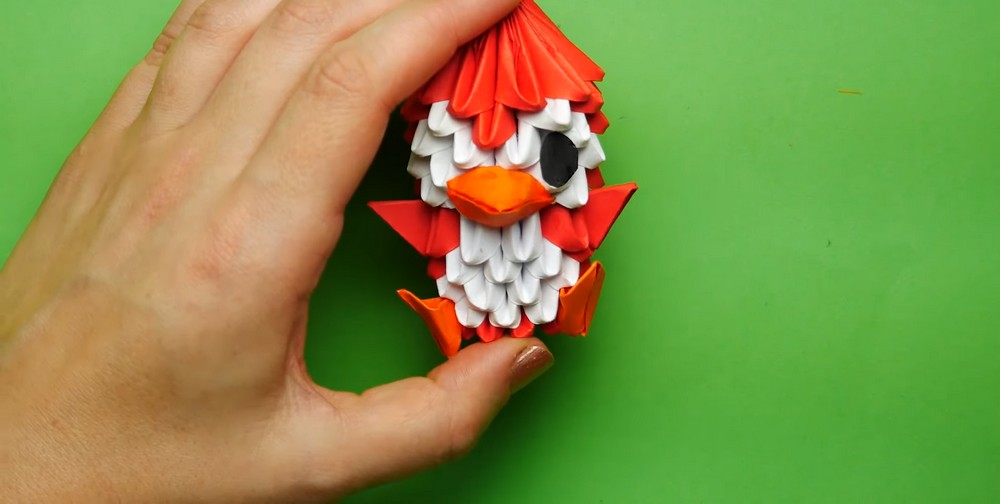
Creating a paper penguin is a fun and rewarding project for anyone, from kids to adults. These adorable crafts can be used as decorations, given as handmade gifts, or even used to build your own colorful penguin collection. You can make your penguin in any colors you like—red, blue, or classic black and white. It’s a simple yet creative way to bring a little cheer to your space.
Make a Cute Paper Penguin with Ease

To make this cute penguin, you’ll only need some colored paper—red, white, and orange, for example. By folding small rectangles into triangular pieces and connecting them, the penguin takes shape row by row. The method is easy to follow and lets you enjoy watching your penguin come to life. Add wings, a beak, tiny paper eyes, and even feet to complete the design. You can also glue the parts in place for extra sturdiness.
This fun project not only teaches crafting skills but also inspires creativity. Why stop at one? Try making penguins in all sorts of colors and sizes, or recreate characters like Pororo or other penguins from your favorite shows.
Credit Arthur 3D origami
Required Materials
- 3 sheets of red paper
- 2 sheets of white paper
- 1 sheet of orange paper
- Scissors or a paper cutter
- Paper glue (e.g., PVA glue)
Important Notes
- The tutorial suggests making a red penguin, but you can use any color you prefer.
- Each piece is referred to as a 1/32nd, being a rectangle cut from the original sheets.
- Follow the video closely and feel free to adjust the speed or replay sections for clarity.
- The pockets need to be expanded for easier assembly.
- Optional: Glue may be used to secure the beak and feet.

Detailed Step-by-Step Instructions
Step 1: Prepare the Rectangles
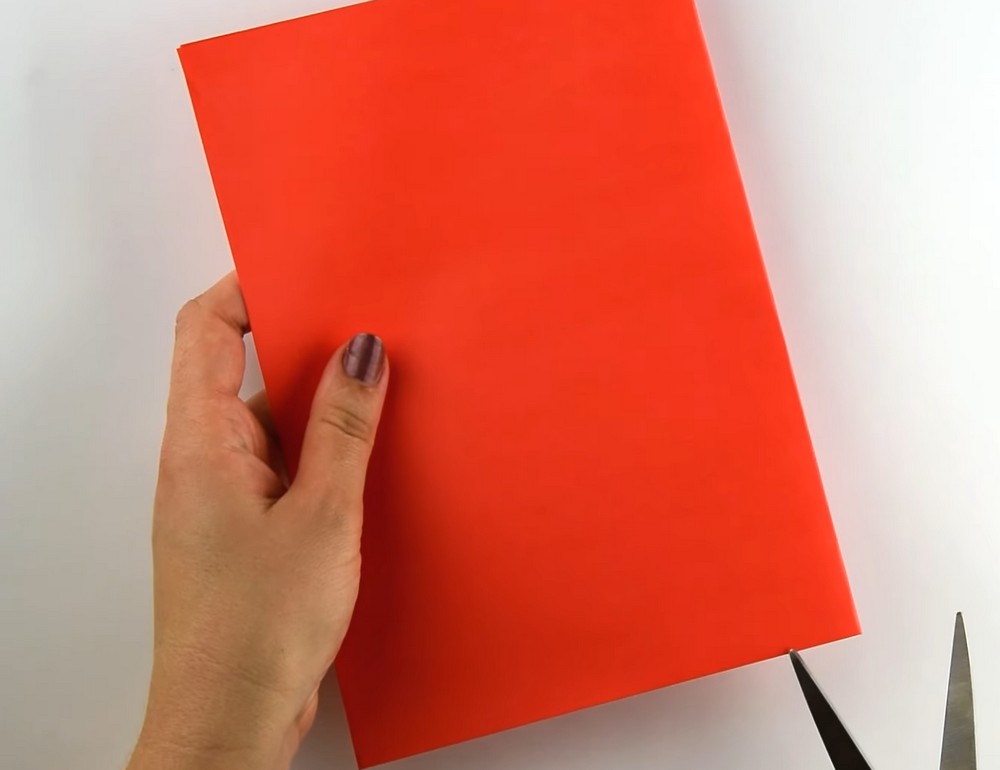
- Cut the Sheets:
- From each sheet, cut them into 32 identical rectangles.
- You will need 65 red rectangles, 36 white rectangles, and 3 orange rectangles for assembly.

Step 2: Fold the Rectangles
- Folding Technique:
- Take a small rectangle and fold it as demonstrated in the video.
- Ensure each piece fits nicely into another by expanding its pockets.
Step 3: Construct the Penguin
- Assemble the Body:
- Row 1: Connect 2 red pieces. Place 1 white piece on top.
- Row 2: Add 1 red, 2 whites. Always align with the long side up.
- Row 3: Add 2 reds, 1 white; then 3 reds.
- Continue the sequence: red and white as mentioned until you’ve completed 11 rows. Rows make a ring around the figure secured by a red piece.
- Row Details:
- 4th Row: Add 3 white, 6 red.
- 5th Row: Add 2 white, 7 red.
- 6th Row: Use short sides facing outward. Add 9 whites.

- 7th Row: Long side outwards. Add 4 white, 5 red.
- 8th Row: Add 5 white, 4 red.
- 9th Row: Add 4 white, 5 red.
- 10th Row: Add white, red, white, followed by 6 red.
- 11th Row: Complete with 9 red pieces.
- Final Touches:
- Wings: Use remaining red pieces for wings. Attach them to the sides.
- Feet: Bend 2 orange triangles to form feet. Insert and glue for security.
- Beak: Expand a third orange piece, cut to form a square, and fold along the diagonals and horizontal center line as shown. Secure it with glue and attach it to the face.
- Eyes: Cut and attach paper eyes to complete the face.