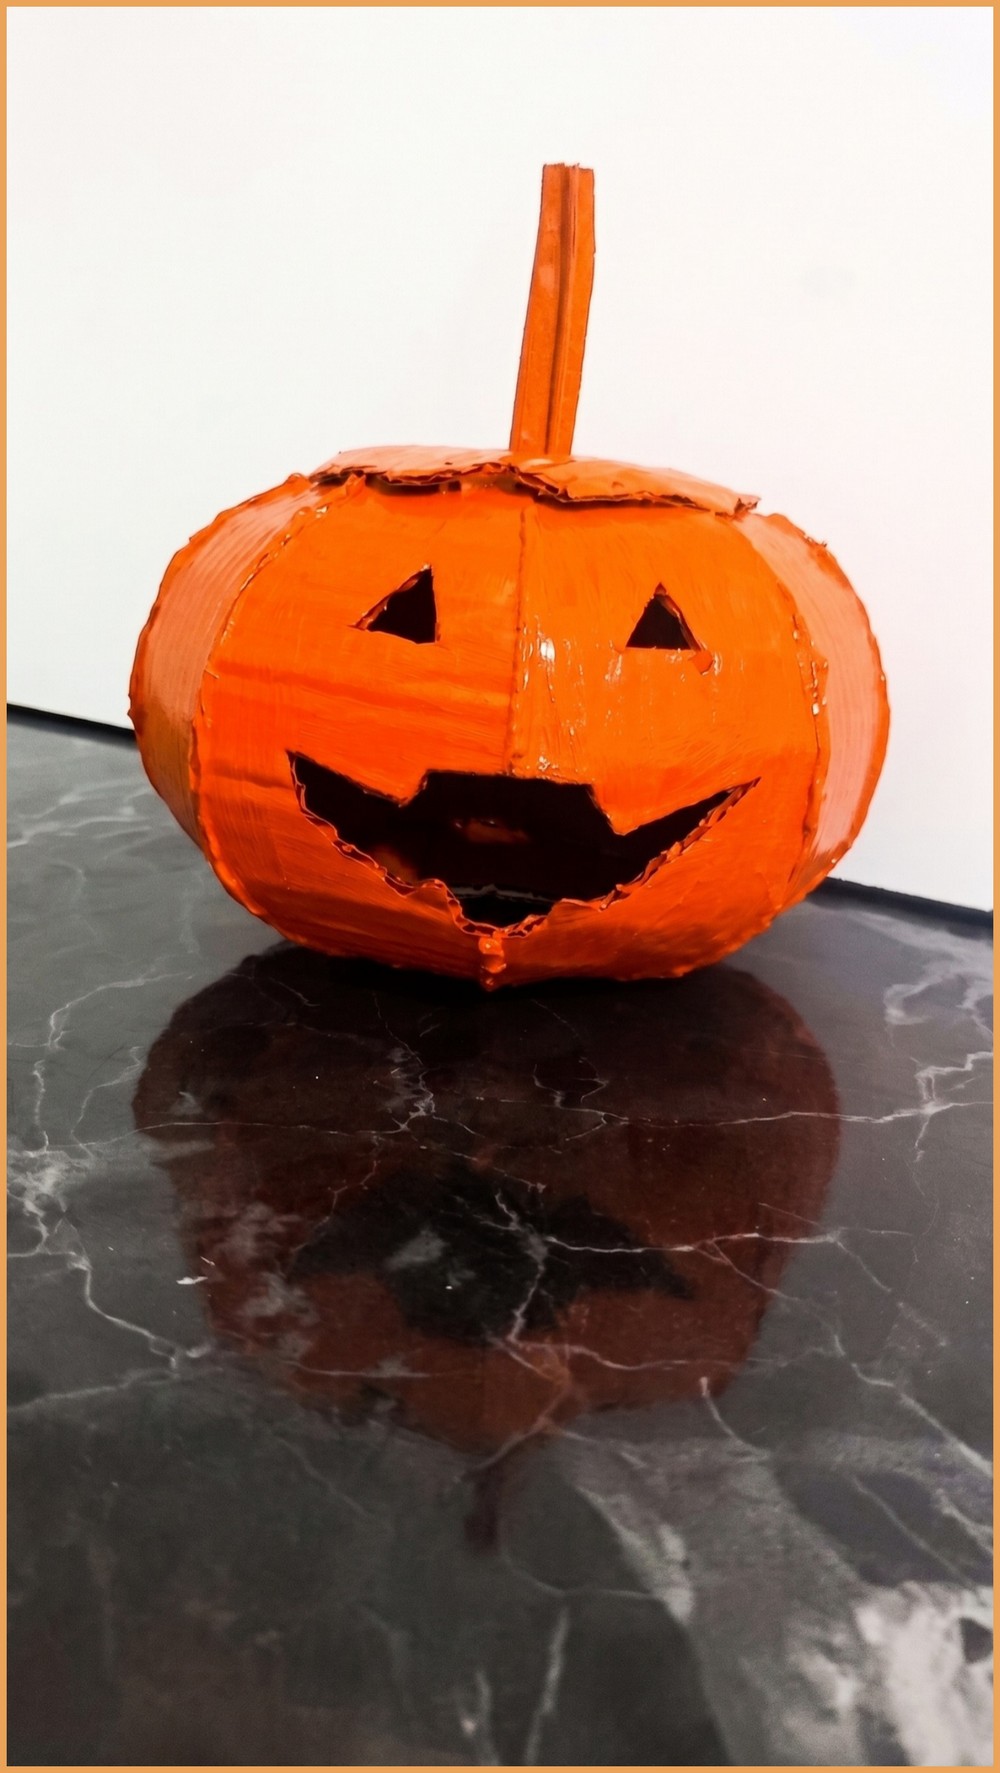
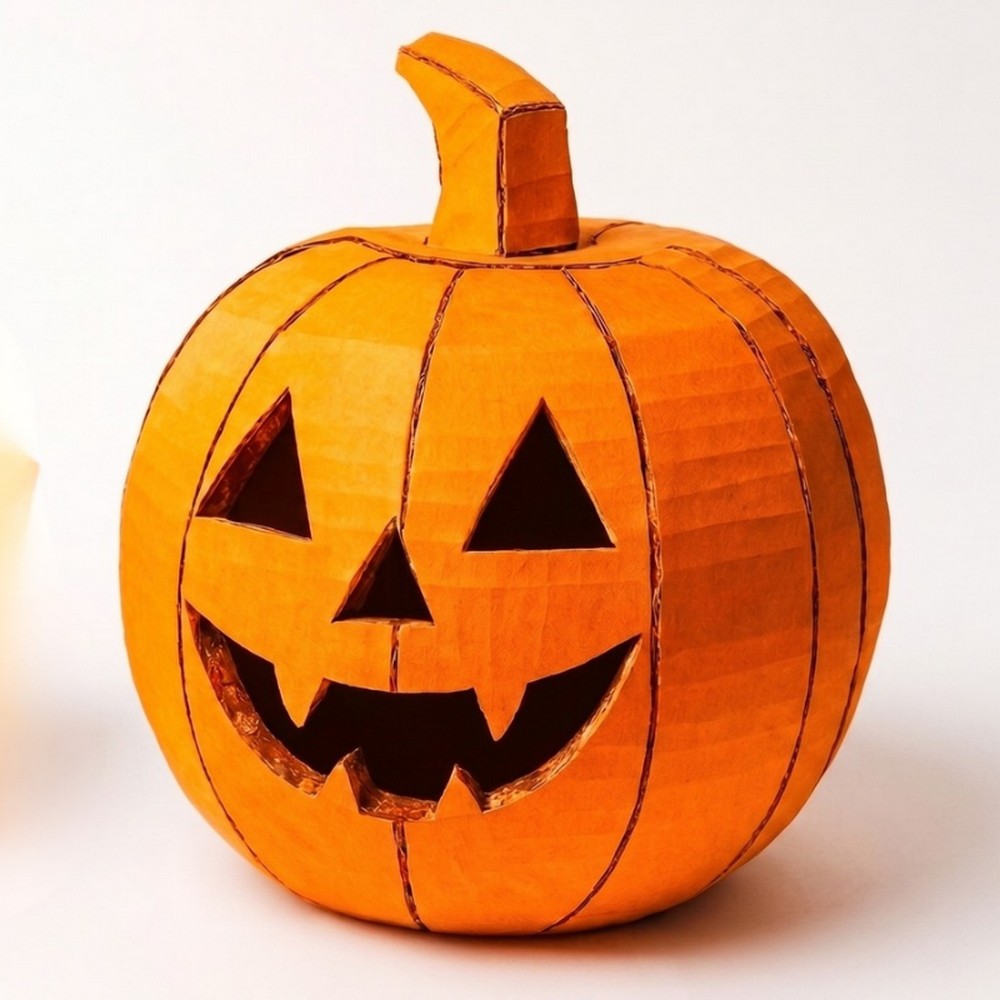
Transform ordinary leftover cardboard into a festive Halloween pumpkin that brings warmth and creative fun to your home. This charming handmade project serves as a light Halloween centerpiece, a seasonal tabletop accent, or a fun holiday prop for family gatherings. It offers a fresh, eco-friendly twist on classic holiday decor.
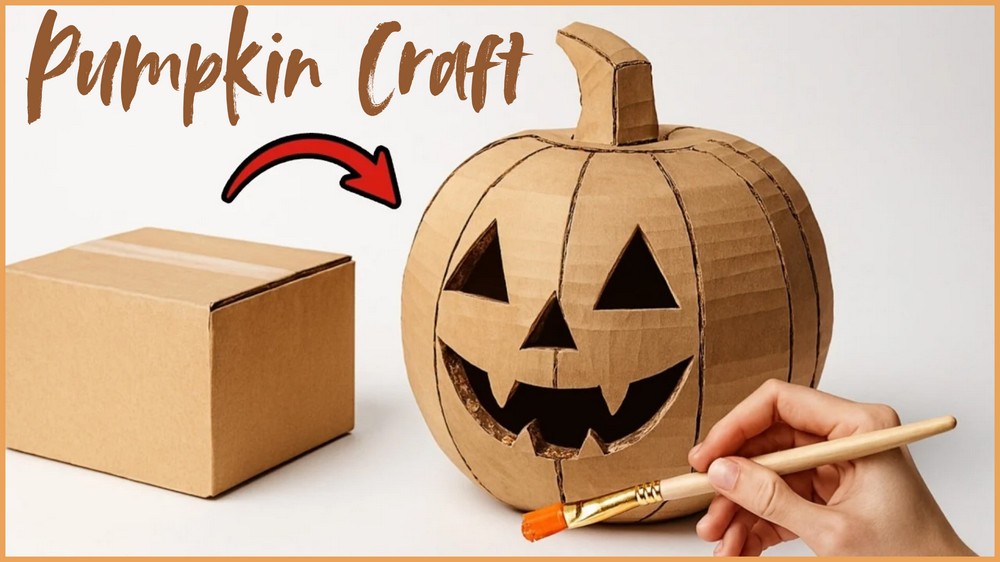
DIY Cardboard Halloween Pumpkin Craft
Once complete, this lightweight pumpkin can safely house an LED tea light to cast a soft, friendly glow on spooky Halloween nights. It brings long-lasting festive cheer year after year without any mess or decay. Enjoy crafting a unique holiday accent that brings big smiles and festive light to your cozy living space.
Things that you need before crafting:
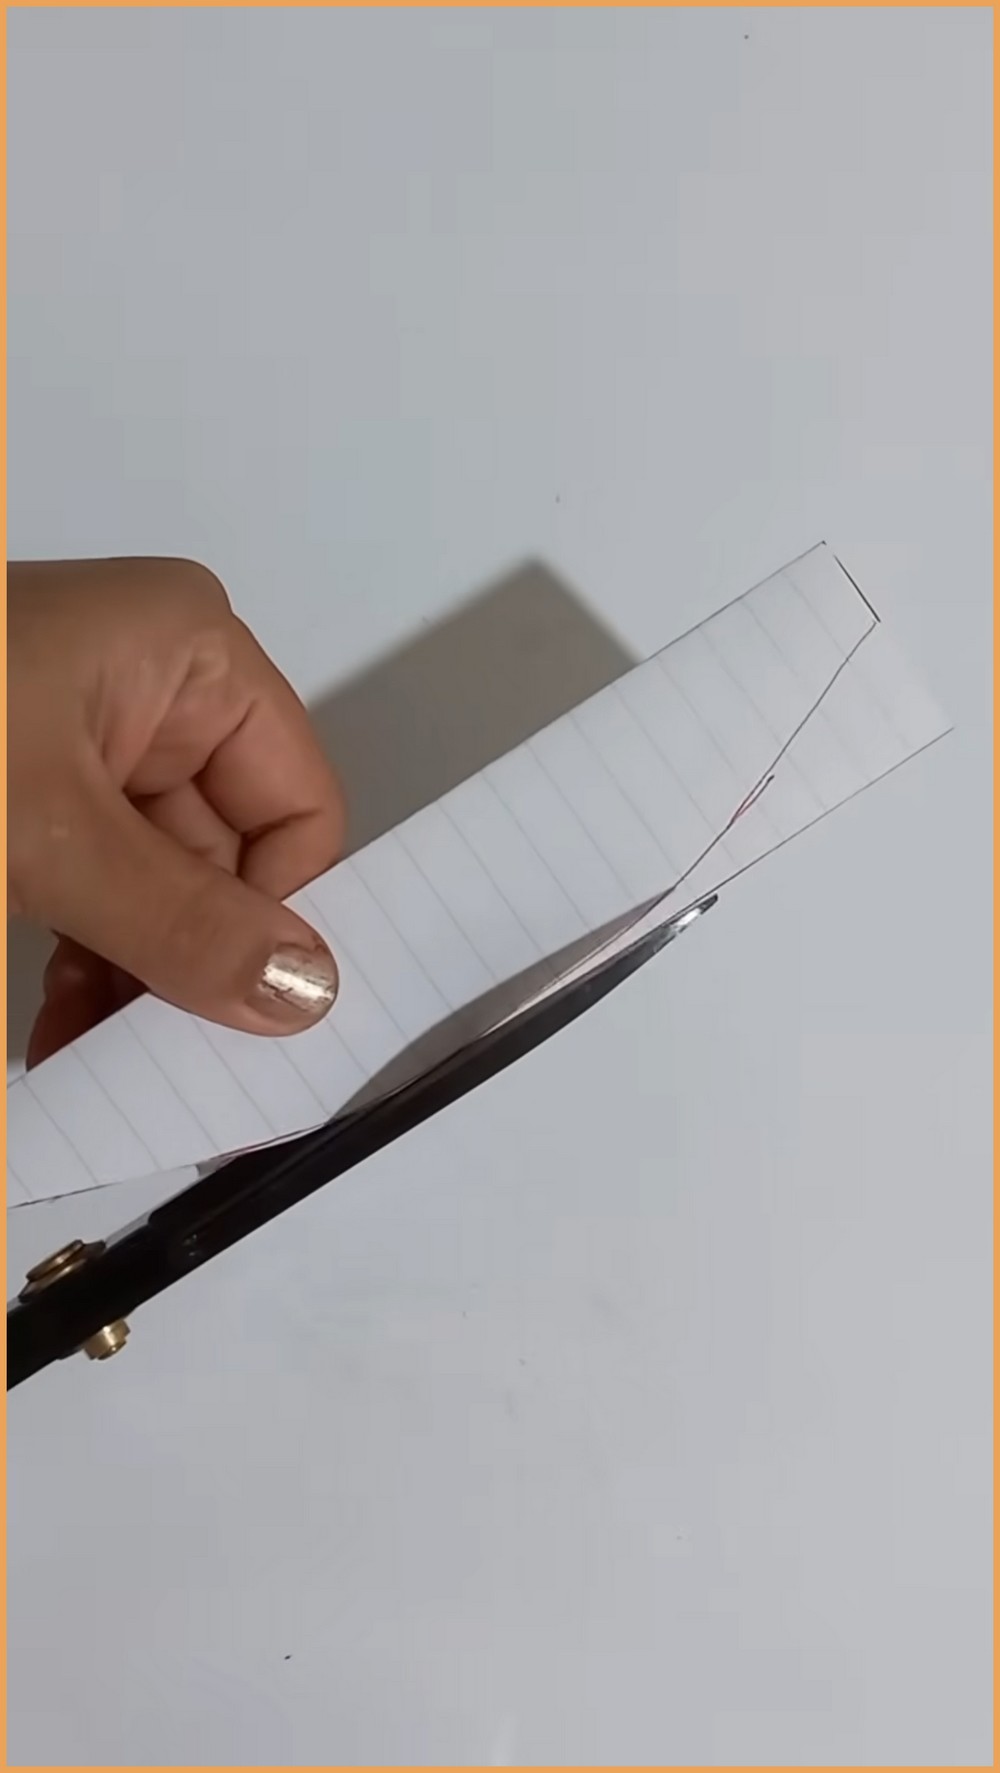
- Pattern Note: Create a paper stencil measuring 18 cm × 8 cm, folded lengthwise to cut out a symmetrical, curved lens/rib profile.
- Gauge: Non-critical for structural assembly; maintain identical 18 cm × 8 cm dimensions for all 8 body segments to ensure a uniform round sphere.
- Corrugated Cardboard: Sturdy cardboard boxes used to cut out the 8 curved body ribs, octagonal top/bottom plates, and stem.
- Paper Strip: A single sheet of paper used to draw and cut out the initial template.
- Hot Glue Gun & Glue Sticks: Essential for joining cardboard edges and reinforcing exterior seams.
- Scissors & Utility Knife: Precision cutting tools for trimming cardboard and carving out jack-o’-lantern facial features.
- Ruler & Drawing Compass: Measurement tools for drawing precise octagonal top/bottom caps and center holes.
- Orange Spray Paint: Gives the finished cardboard pumpkin a vibrant, solid Halloween finish.
Key Construction Features
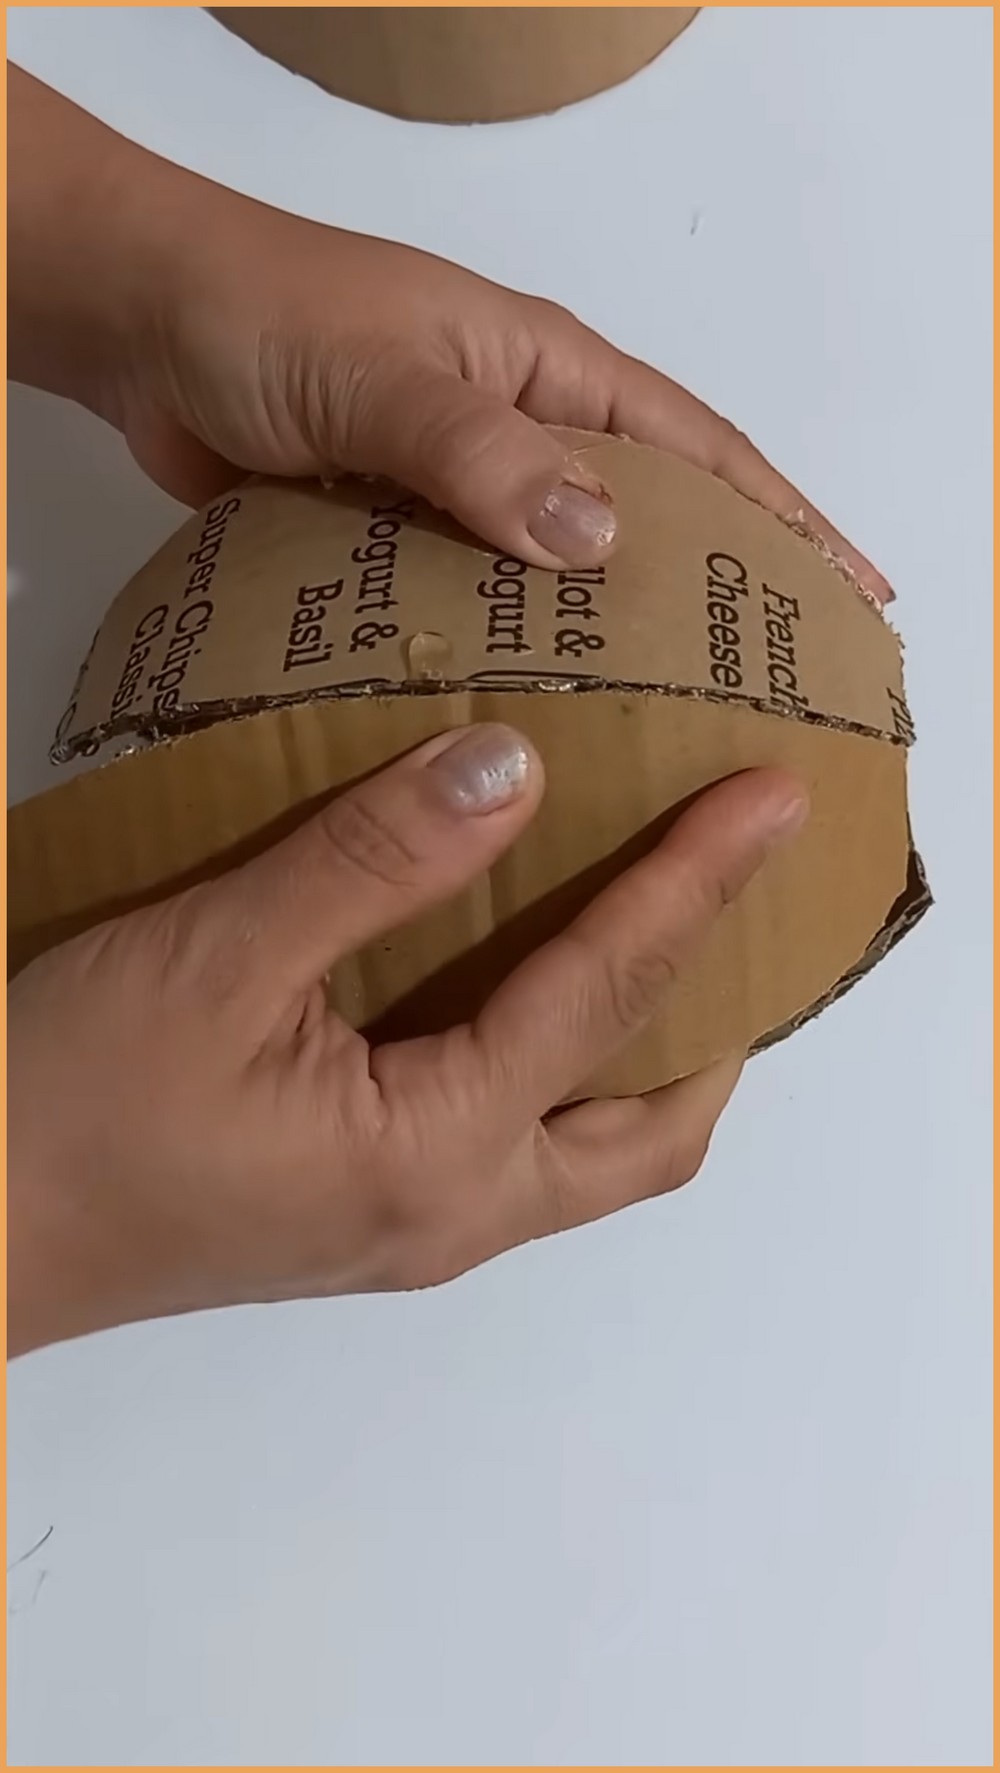
- 3D Segmented Globe: Constructed by joining 8 identical curved ribs side-by-side to create a spherical, hollow shape.
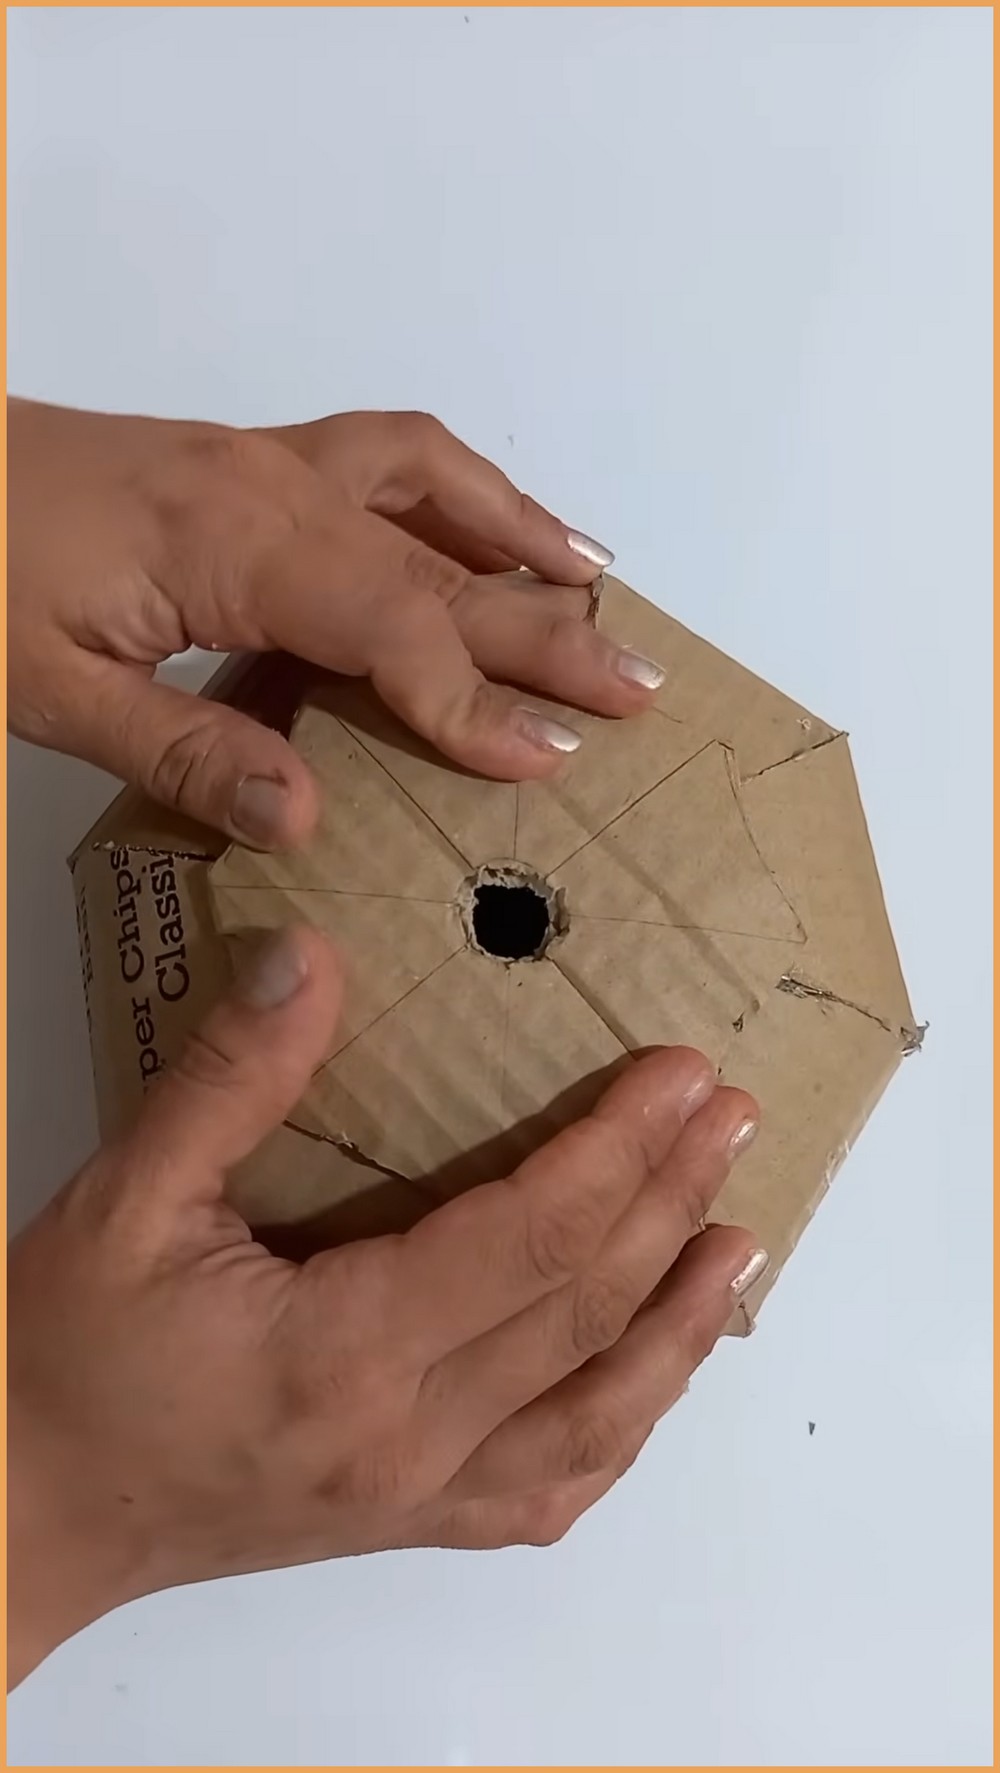
- Structured Flat Endcaps: Features top and bottom 8-sided cardboard octagons that close off the sphere and provide stability.
- Textured Stem: Incorporates a tightly rolled strip of exposed corrugated cardboard fitted into a central top opening.
- Hand-Carved Jack-o’-Lantern Face: Allows custom carving of spooky eyes, nose, and mouth using a craft knife.
- Reinforced Seams: Hot glue applied along all outer rib connections adds structural rigidity and dimensional texture.
How To Make:
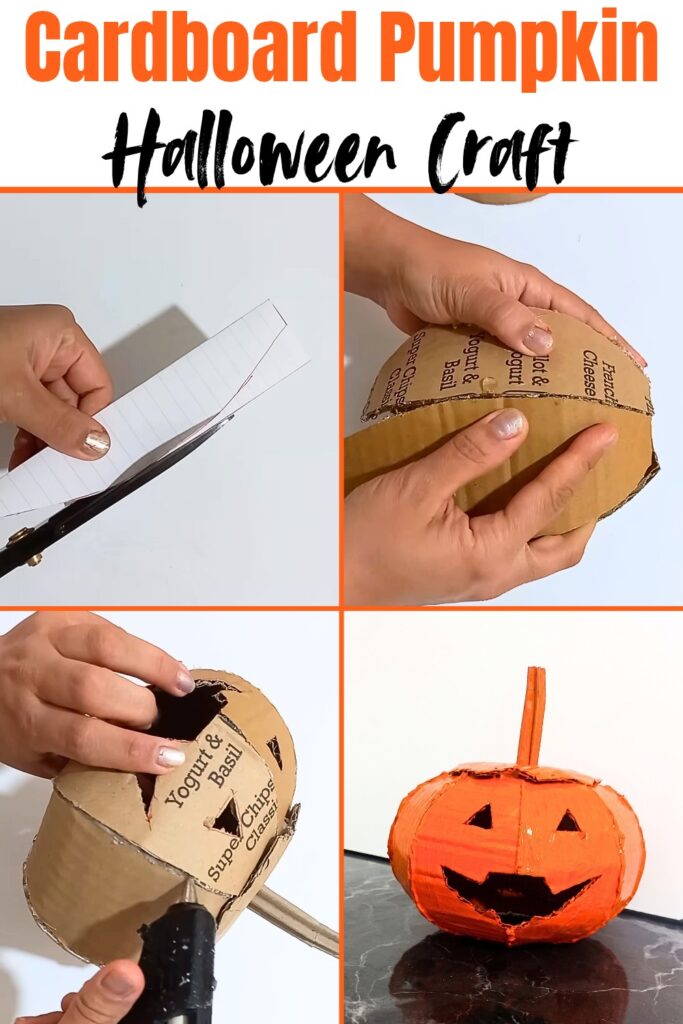
Creating the Stencil & Cutting Ribs
Forming the Round Pumpkin Body
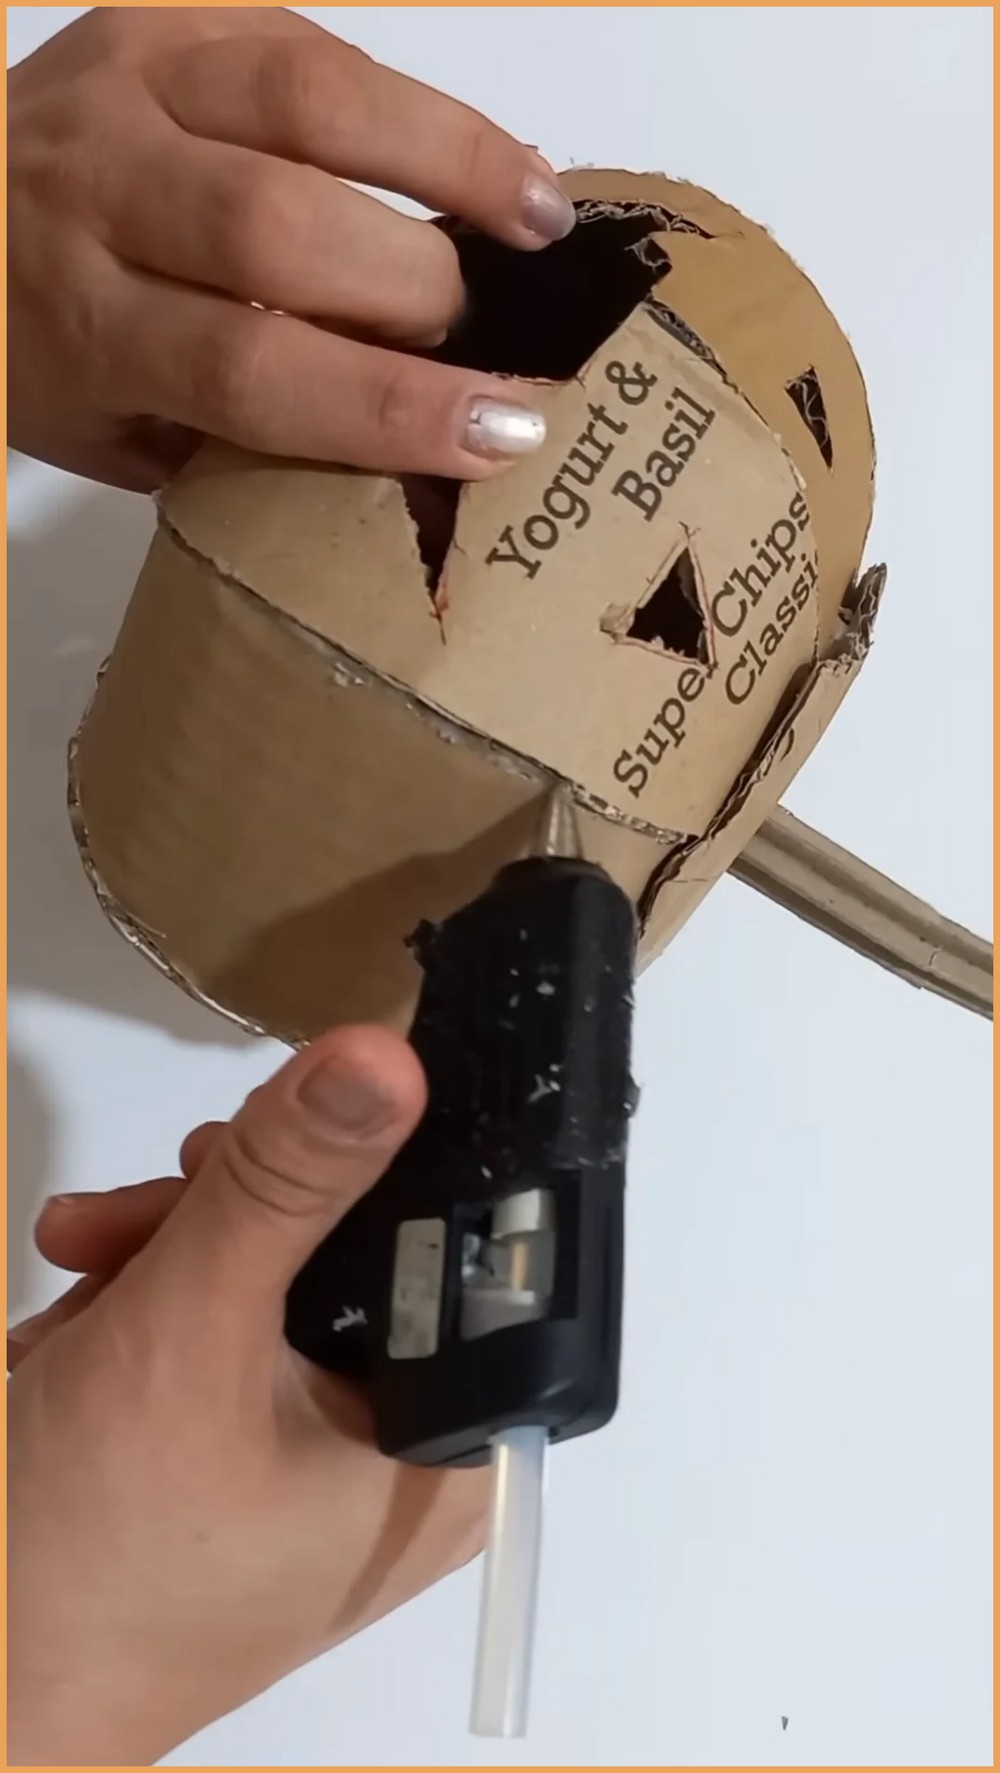
Gently bend each piece across its fluting lines to form an arc, then hot glue the side edges of the segments together sequentially until a hollow, 3D round globe is formed.
Crafting and Attaching Endcaps
Using a compass and ruler, draw and cut two 8-sided cardboard octagons for the top and bottom caps, making sure to cut a small circular hole in the top cap. Glue both caps in place to secure the top and bottom openings of the sphere.
Adding the Textured Stem
Note: If you face any hurdles in creating this project, then you can watch the tutorial here.